Making A Grilled Hamburger: Making a grilled hamburger can be an easy and delicious meal for any special occasion, in just fifteen minutes you can be enjoying an irresistibly juicy, flavorful burger sure to please your palate. With just a few simple ingredients and steps you can create something unforgettable for yourself or as part of an impressive picnic spread – perfect as an easy weeknight dinner or delicious weekend lunch option – so get cooking on that grill now and let’s get deliciously grillin’!
1. Gather The Necessary Ingredients
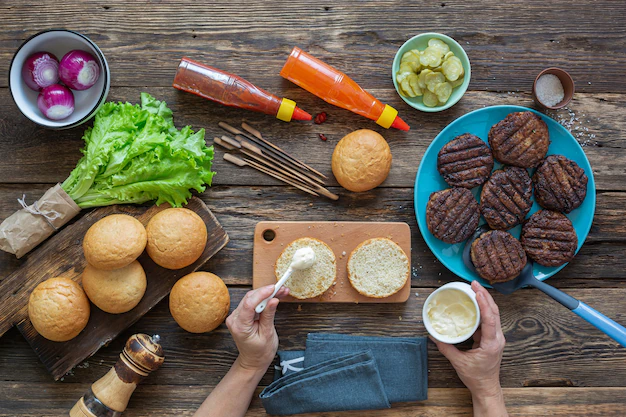
Classic grilled hamburgers typically consist of 80/20 ground beef, salt, pepper, soft white buns, and your desired toppings. 80/20 refers to ground beef that contains 80% meat and 20% fat; fresh high-quality ground beef is recommended for optimal flavor and texture; alternatively ground turkey can also be substituted as desired.
Salt and pepper are both indispensable when creating delicious hamburgers, as adding just a dash can elevate their flavors immensely. When selecting your bun type, soft ones work best since they hold together better when making sandwiches with delicious bites!
2. Prepare The Hamburger Patties
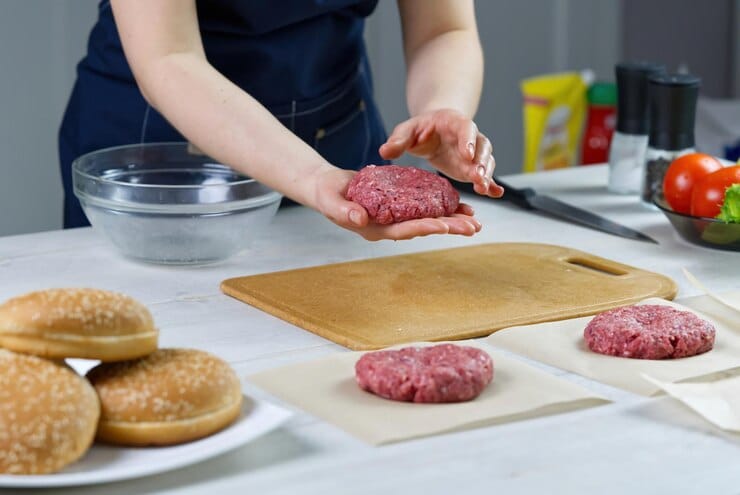
For perfect hamburger patties, combine ground beef, salt and pepper using either your hands or a sturdy spoon. Be sure to mix everything evenly so everything stays evenly distributed before shaping the patties – standard thickness should be around 1/2-inch thick.
Make mini or giant patties as desired, covering them in plastic wrap to maintain freshness and ensure no air exposure occurs. Store the patties for up to three days in the fridge if using frozen ones; just remember to thaw before creating hamburgers.
3. Preheat The Grill
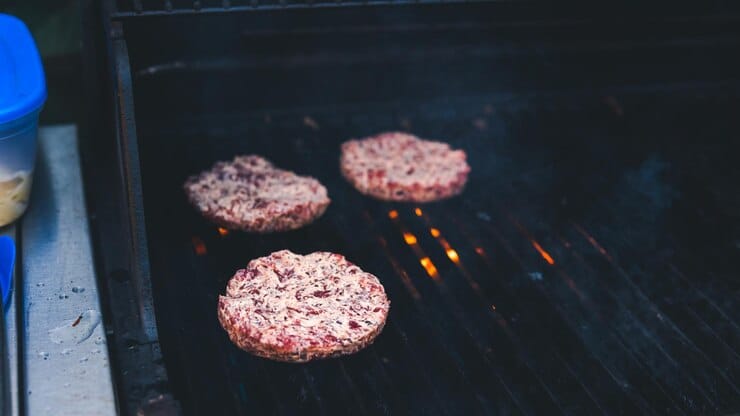
Prior to adding hamburger patties to the grill, make sure the temperature of your grill has reached medium-high heat. Preheating ensures it remains hot enough for fast and thorough cooking of hamburgers – be sure to preheat first for best results and consider purchasing one with a cover!
Covering your grill will help retain heat, which allows your burger to cook faster and more thoroughly. Some grills already feature one, but if yours doesn’t you can easily make one by placing aluminum foil over it. When using a charcoal grill it is advised that it be lit at least 15 minutes beforehand in order to allow time for all the charcoal briquettes to burn down until they turn into coals before beginning your hamburger cooking session.
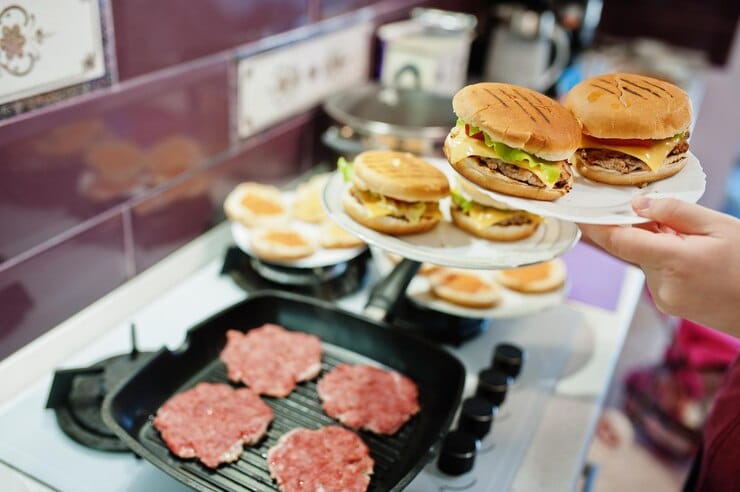
4. Place The Burgers On The Grill
Now’s the time to fire up that grill! Place the patties on and leave them alone for approximately 6 to 8 minutes, or until the internal temperature reaches approximately 145 degrees F. When placing them on the grate, ensure it is hot enough so they sear properly; grilling is all about creating that crispy exterior to seal in all that juicy goodness on the inside! When they are nearly finished cooking, place the buns lightly toast them while the patties finish their journey.
5. Flip The Burgers
As soon as your patties are almost done cooking, it is important to flip them to ensure even cooking. A pair of tongs works well for this task; just be quick in turning the patties. Doing this should allow the heat to escape without losing too much; medium-rare patties should take approximately 6-8 minutes to finish cooking completely. When your patties are nearly ready for serving you may add cheese if desired.
Cheese can either be added directly onto each patty, or grated from a block using a cheese grater. When cooking multiple burgers at once, it is better to flip all at once in order to ensure an even cooking process and ensure they all come out perfect!
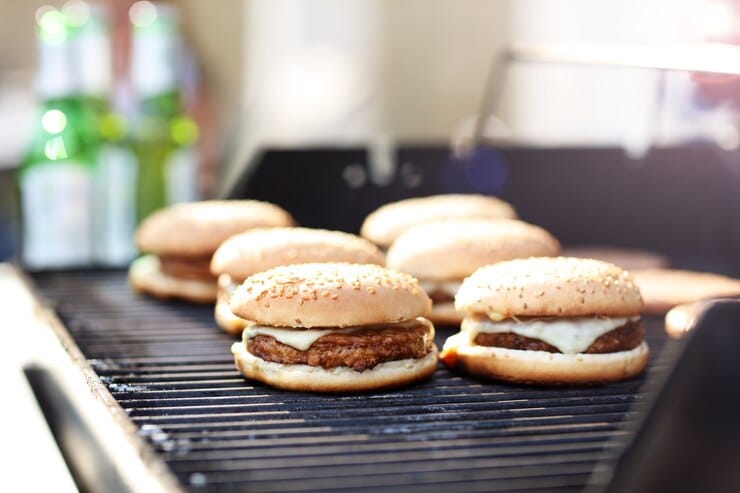
6. Add Cheese, If Desired
Once your burgers are nearing completion, add cheese. Grate a block or slice American or cheddar into each patty for an elegant touch. Cheese adds depth of flavor while giving grilled burgers their distinctive flavour; adding it all at once ensures all burgers cook evenly!
7. Toast The Buns

While your burgers are cooking, why not lightly toast the buns on the grill for added flavor and crunch. Use tongs to turn over only once when toasting with topper or baking sheet (be sure to place on lower shelf as heat intensity may differ)! This step will also add extra dimension and depth of flavor!
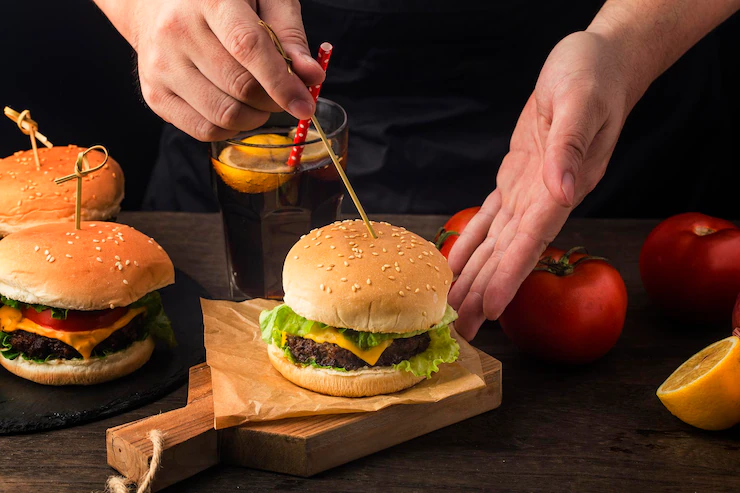
8. Assemble The Burgers
Now that your grilled hamburgers are nearly done cooking, it’s time to assemble them! Use a knife to slice open the buns and place the patties on their respective bottom halves, add your desired condiments, then cover the burgers with their bun tops – or create delicious sandwiches by including lettuce, tomatoes, pickles or other goodies! When making multiple burgers at once it is wiser so as to not run out of toppings; additionally it will save time if everything is prepared beforehand!
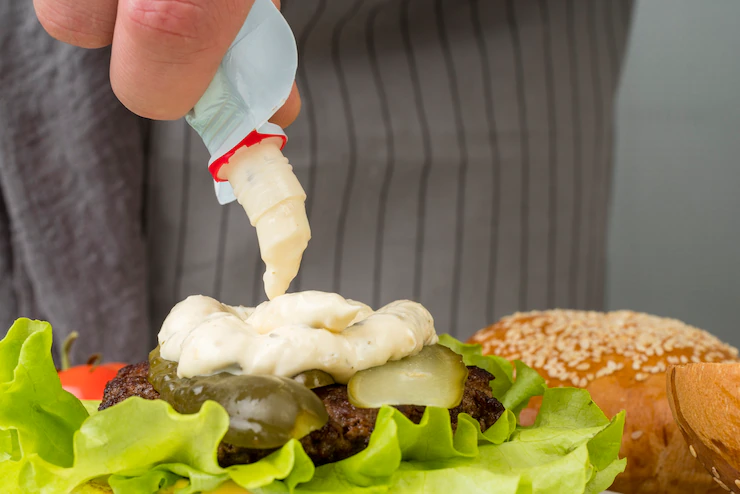
9. Serve With Desired Condiments
Once the hamburgers have nearly completed cooking, you have several choices for condiments to add them with. Common options for topping off grilled burgers include ketchup, mustard, mayo, lettuce, tomato, onion and pickles. When entertaining guests it is a good idea to have all condiments available so they can add as many or few as they would like on their burger.
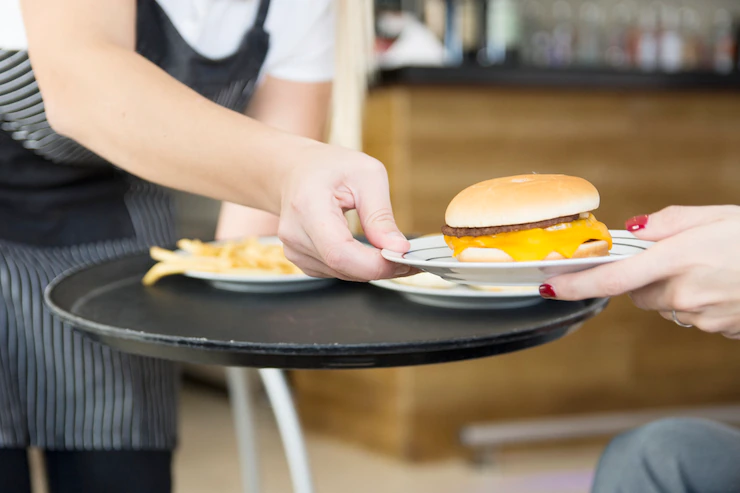
10. Enjoy!

Now that your grilled hamburgers are almost finished cooking, it’s time to sit back, relax, and savor your tasty meal! These simple yet flavorful burgers will be a hit at any gathering; all that remains now is to sit back, relax, and relish this delectable meal! Now that you understand how to make a grilled burger in 15 minutes you can treat yourself to delicious yet effortless dinner every night of the week! You won’t believe how tasty and effortless they taste once completed!
Also Read : Uncovering The Amazing Health Benefits Of Avocado